Drywall Ceiling Grid Secrets Revealed
When it comes to putting together a ceiling, there are quite a few reasons that you may end up opting for drywall. Many of these are more than enough reason to opt for a drywall ceiling over the alternatives, but you want to make the installation as simple as possible. Here is where a drywall ceiling grid comes into play. There are a few main benefits of drywall over other materials, and some of these details are items that we have discussed before, including:
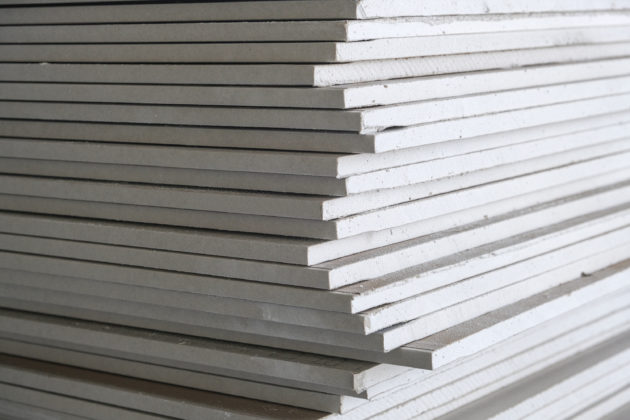
— Drywall can be manufactured cheaply and quickly, making it possible to get the job done faster at a lower cost.
— Relatively easy to install, as long as you have the proper equipment. Some drywall jobs can even be done solo.
— Fire resistance due to the gypsum content.
— Easy to cut into various sizes for specific applications.
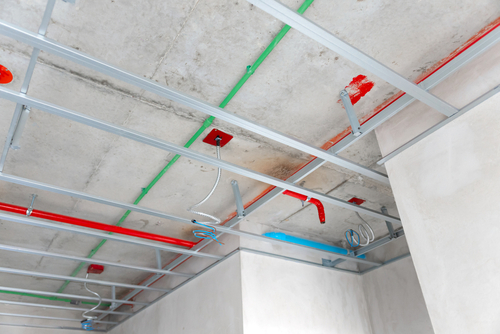
Table of Contents
Why Use A Drywall Grid?
So, what exactly is a drywall grid? In essence, a ceiling grid is a pre-engineered piece of equipment to help install a drywall ceiling. These generally consist of the main runner, 4’ tees, and a wall angle, generally L-shaped. These can be modified in terms of slotting, so you get the exact spacing that you need to meet drywall code. With this said, a drywall grid system is a heavy-duty operation, which can make things harder to cut than your typical drop-ceiling grid system. Expect the wall angle to be either 20 or 25-gauge material. With this said, even though it’s harder to cut a drywall grid system, these are generally quicker to assemble overall. That is because the grid system doesn’t get exposed, so you don’t have to be as precise when putting things together.
So, what are some of the applications for using a drywall ceiling grid? For one thing, your conventional acoustical ceiling may not be the ideal match for a given project. As a drywall contractor, you are beholden to the rules and requirements that designers and architects put down.
In other cases, you may be working on a project that already has an existing drywall or plaster ceiling. However, typical repairs are obstructed due to ductwork, gas lines, data lines, and other systems. In these cases, in order to maintain the look of the original ceiling, you need a proper drywall ceiling grid system. Accessories can go in the cavity above when it is finished.
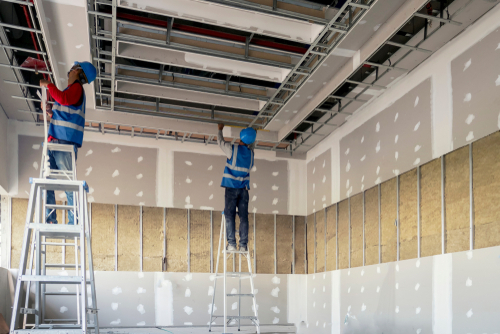
Setting Up A Suspended Drywall Ceiling Grid

Now, we can start doing a step-by-step look of putting together a drywall ceiling grid. Following each technique to the letter is essential for a successful installation.
Step 1: Wires and Fasteners
Your ceiling support wires can be installed like for any other ceiling. Make sure these are set in a solid structure since grids have to manage a large load. This is why drywall grid system runners are more durable than for acoustical ceilings.
Step 2: Perimeter Wall Angle
Wall angles are going to be installed in a manner similar to your conventional acoustical ceiling. The main difference is that you need to account for the drywall’s thickness when determining the proper ceiling height. You can fasten the angle to the drywall or the actual steel stud; just make sure you have the appropriate fastener. Also, the wall angle doesn’t need to be aesthetically pleasing compared to other parts of the installation.
Step 3: The Layout
Compared to an acoustic system, determining your room layout isn’t as important. Drywall is going to cover up the framing members no matter what you do. With this said, you still need to be mindful of light fixtures and accessories. Make sure that you consider aspects of the room like hallways as well. For example, you don’t want a cross tee going down the middle of a hallway.
Step 4: Runners and Cross Tees
With your layout ready, you can put the grid together. Since the layout isn’t as important, you don’t need to measure and cut the drywall main as you would for acoustical ceilings. Just cutting the tab off on the end is enough.
Step 5: Securing
You have two main options to secure the runners and cross tees to the wall angles. You can punch the main with punch pliers and put the screw in the hole, or let the self-tapper bore its way through. Either way, you’ll need to put a string line through to straighten the main out.
After this work is done, you’ll need to naturally examine things to make sure it keeps with your original plans. We should also address how much it costs to put together a ceiling grid. This is ultimately dependent on the project, but the main metrics that generally end up getting factored in are the room length, the width, and the distance from the ceiling to the anchor support. In addition, material costs may vary based on the region and market where you are working. Make sure to have a supplier that you trust.
Final Thoughts on Drywall Ceiling Grid
A ceiling grid calculator is one of the many tools that you’re going to need to be successful with this particular practice. However, there are other areas you need to consider, as well. For example, you may have the perfect drywall ceiling grid system you want to use. However, how much is it going to cost you to implement? How long will it take your team to put together? Without an accurate way to gauge these metrics, it’s almost impossible for you to create an accurate price for drywall grid work. The last thing you want to do is end up losing money on a service.
Project management software like eSUB helps you craft the financial picture that you need here with tracking and data. In addition, we also allow you to store all this information on the cloud, so all your teams can read and interpret data and directives at the same time.